|
October 19, 2010 |
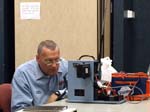
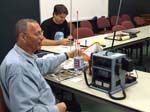
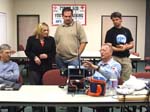
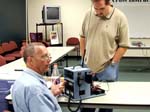
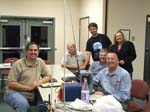
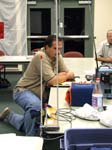
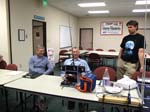
At the October Yolo County ARES meeting, Sacramento Valley EC, Larry Sutter, visted and demoed his go kit.
WD6FXR, Larry's go-kit consists of:
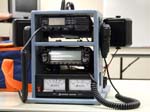
- One Icom IC-V8000 2-meter transceiver
- One Icom IC-2820 Daul band transceiver (I choose this one because it offers "stereo" audio [for both "sides"] plus ease of programming and control).
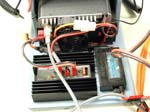
- One Astron SS-25M power supply (a good quality compact 20-amp switching supply)
- One Astro Flight Amp Hour meter (a great multi-display unit from www.astroflight.com for keep a watch on the battery conditions -- it displays volts, amps, AH watts, etc).
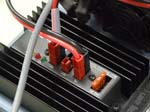
- One WestMountain radio PWRgate PG-40s (this will not only switch from the power supply to battery power in the event of an AC failure, but it also charges the batteries as well).
- Two fuse holders with 15 amp fuses (I prefer the automotive type).
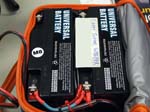
- Two 18-AH AGM Gel cells (wired in parallel [with fuse links], additional fuses [on each power cable], Anderson PowerPole connectors and 10-guage wiring).
- One Arrow dual band J-pole (mounted on a short 2x4 board to clamp it to a table (or roof, etc.)
- Spares: coax connectors; a Heil mic; extra cables, short BNC whip antennas, etc.
To make the kit:
1. Determine your communication needs -- and choose your equipment.
2. Do a rough layout to determine an effective arrangement -- You can make up cardboard templates
-- consider your layout -- can you easily operate your equipment?
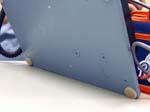
-- also consider your case (that will hold the radios and possibly another case for transporting the go-kit (This can be a box, case or a custom-made enclosure -- I customized mine with plywood).
3. Make it -- hint: (1) measure twice before cutting your mounting(s); (2) use a miter saw to make square cuts, if you use wooden mounts.
4. Make up the cables (be careful with the PowerPoles -- make sure the colors match.
5. Test your go-kit -- you can re-mount or reposition a unit to make it easier to see and operate
6. Go for it!!!
| |
|
|
|
| |
|
|
|
| |
|
|
|
| |